How to install Oracle Enterprise Manager Cloud control 13c
With the evolution of technology, many customers want to know how to monitor the database easily and conveniently. Oracle Enterprise Manager cloud control is the official solution of Oracle. In addition to providing visual and convenient management of web interface and integrated database internal ADDM、 AWR features Etc., it is faster and easier to find and solve the problems encountered by the database.
Many customers feel that the Oracle Enterprise cloud control 13c installation steps are too complicated and often deteriorating. Today we will unveil its mystery.
Preinstallation
Step 1. Check Hardware Requirements for Enterprise Manager Cloud
Control.
Step 2. Close Firewall.
Step 1. Check Hardware Requirements for Enterprise Manager Cloud
Control.
Please
reference to Oracle website
Step 3. Close SELINUX.
modify /etc/selinux/config
Step 4. Check preinstall
packages.
yum install binutils -y
yum install compat-libcap1
–y
yum install compat-libstdc++-33
-y
yum install compat-libstdc++-33.i686
-y
yum install gcc -y
yum install gcc-c++ -y
yum install glibc -y
yum install glibc.i686 -y
yum install glibc-devel
-y
yum install
glibc-devel.i686 -y
yum install ksh -y
yum install libgcc -y
yum install libgcc.i686
-y
yum install libstdc++
-y
yum install
libstdc++.i686 -y
yum install
libstdc++-devel -y
yum install
libstdc++-devel.i686 -y
yum install libaio -y
yum install libaio.i686
-y
yum install
libaio-devel -y
yum install
libaio-devel.i686 -y
yum install libXext -y
yum install
libXext.i686 -y
yum install libXtst -y
yum install
libXtst.i686 -y
yum install libX11 -y
yum install libX11.i686
-y
yum install libXau -y
yum install libXau.i686
-y
yum install libxcb -y
yum install libxcb.i686
-y
yum install libXi -y
yum install libXi.i686
-y
yum install make -y
yum install sysstat -y
yum install unixODBC -y
yum install
unixODBC-devel –y
yum install zlib-devel
–y
yum install
zlib-devel.i686 –y
Reference Oracle Web site
https://docs.oracle.com/cd/E73210_01/EMBSC/GUID-059D95F7-0326-4E0D-9470-6675C1891BA9.htm#EMBSC130
Following below command to check package.
Following below command to check package.
rpm
-qa --queryformat "%{NAME}-%{VERSION}-%{RELEASE}(%{ARCH})\n" | grep
glibc
Please reference Package Requirements for Oracle Management
Service
https://docs.oracle.com/cd/E73210_01/EMBSC/GUID-059D95F7-0326-4E0D-9470-6675C1891BA9.htm#EMBSC131
Following below command to check package.
Following below command to check package.
yum -y install make-3.82-21
binutils-2.23 gcc-4.8.2-16 libaio-0.3.109-12 glibc-common-2.17-55
libstdc++-4.8.2-16 sysstat-10.1.5-4 glibc-devel 2.17-55 glibc-devel 2.17-55
libXtst-1.2.2-2
Please reference Package
Requirements for Oracle Management Agent
Following below command to check package.
yum -y install make-3.82-21 binutils-2.23 gcc-4.8.2-16 libaio-0.3.109-12 glibc-common-2.17-55 libstdc++-4.8.2-16 sysstat-10.1.5-4
yum -y install make-3.82-21 binutils-2.23 gcc-4.8.2-16 libaio-0.3.109-12 glibc-common-2.17-55 libstdc++-4.8.2-16 sysstat-10.1.5-4
Step 5. Modify Kernel parameters.
modify /etc/sysctl.conf file.
Following below command to restart service.
/etc/rc.d/init.d/network restart
/etc/rc.d/init.d/network restart
Step 6. Add User and
group.
•
groupadd
oinstall
•
groupadd
dba
•
useradd
-g oinstall -G oinstall,dba oracle
Step 7. Modify hosts
file.
modify /etc/hosts and add below host name
127.0.0.1 mgmtnode #
Management Node
Step 8. Create ORACLE_BASE directory and set privilege.
mkdir -p /u01/app/oracle
chown -R oracle:oinstall /u01
chmod 755 /u01
Step 9. Modify Oracle user
profile.
export TMP=/tmp
export TMPDIR=$TMP
export ORACLE_HOSTNAME=mgmtnode
export ORACLE_UNQNAME=emrep
export ORACLE_BASE=/u01/app/oracle
export ORACLE_HOME=$ORACLE_BASE/product/12.1.0.2/dbhome_1
export ORACLE_SID=emrep
export PATH=/usr/sbin:$PATH
export PATH=$ORACLE_HOME/bin:$PATH
export
LD_LIBRARY_PATH=$ORACLE_HOME/lib:/lib:/usr/lib
Step 10. Unzip Oracle installation
file.
Database installation
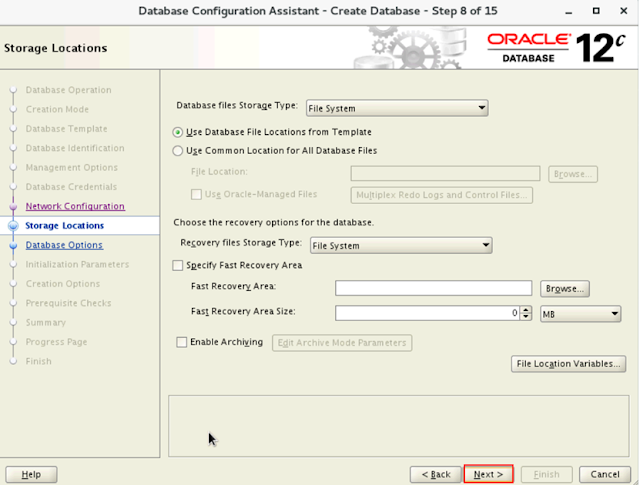
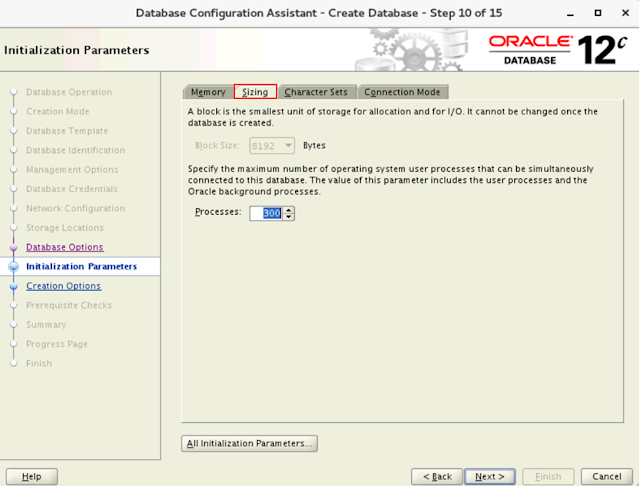
Step 1. Begin to install
database.
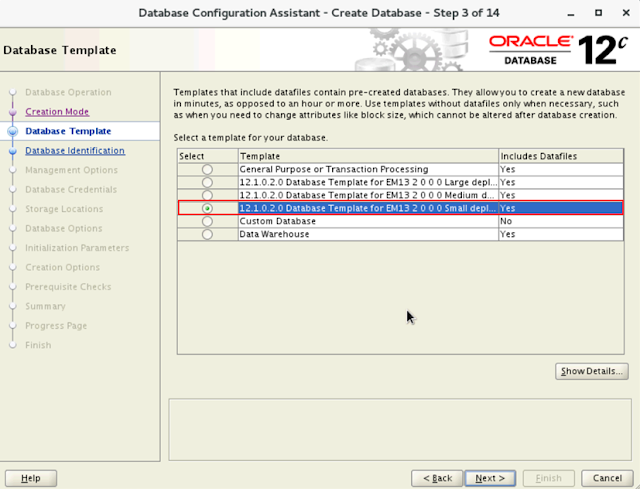
Step 2. Import template
database for EM.
Unzip
12.1.0.2.0_database_template to $ORACLE_HOME/assistants/dbca/templates
Enterprise Manager Cloud control installation
Step 1. Create EM directory
mkdir
-p /u01/app/oracle/middleware
mkdir
-p /u01/app/oracle/agent
mkdir
-p /u01/app/oracle/gc_inst
mkdir
-p /u01/app/oracle/swlib
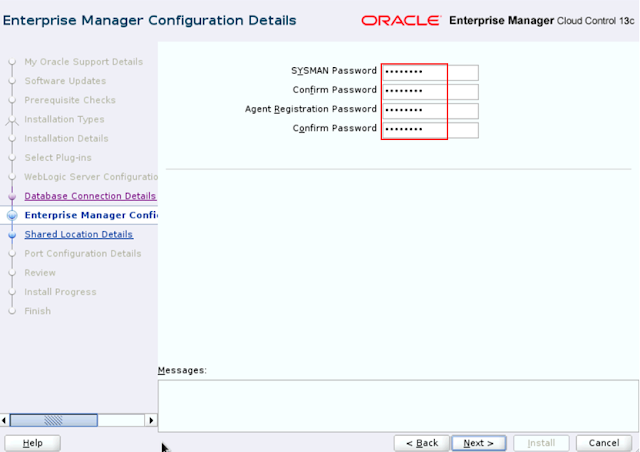
Step 2. Begin to
install EM
Step 3. Login EM web site
Enterprise Manager Cloud control configuration
Step
1. Create target agent directory
mkdir
-p %ORACLE_HOME%/agent
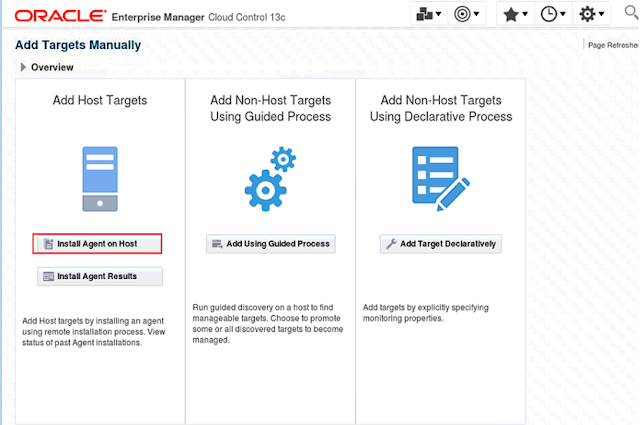
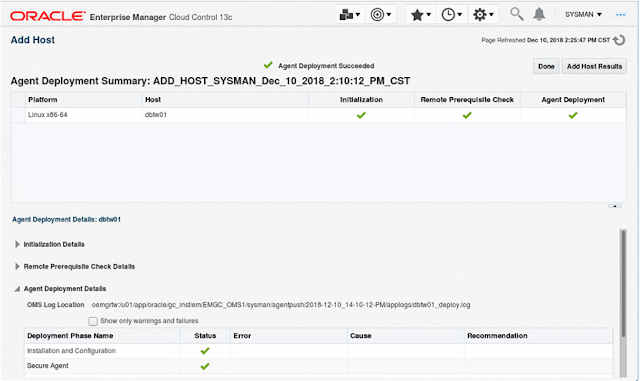
Step
2. Use EM URL to deploy agent
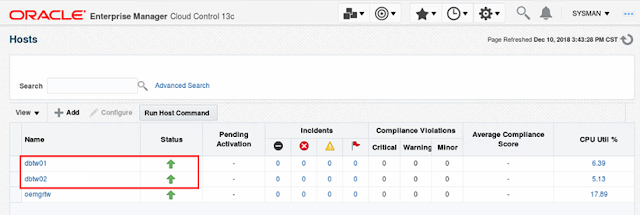
Step
3. Monitor target database and DR site.
Please unlock Oracle dbsnmp account first.
Please unlock Oracle dbsnmp account first.
Finish!















留言
張貼留言